Showing posts with label homemade. Show all posts

Sunday, January 27, 2013

Quinoa Burgers


2 c uncooked quinoa
4 c water
2 celery stalks
2 medium sized yellow onions
2 carrots
1/2 can refried beans
cilantro
garlic
Additional seasoning to taste
preferred cooking oil (opt)

Quinoa burgers are some of our favorites.  They are moderately quick and easy to make.  I do not use exact measurements when I cook.  I have provided estimations.  As you try it out, adapt the recipe to your taste and texture preferences.

1.  Combine 2 c uncooked quinoa grains and 4 c water in a large pot.  Bring to a boil, then cover and turn to low heat until quinoa is a sticky, rice-like consistency.  Quinoa will appear to have rings around it, like a tiny planet.  Remove from heat.

2.  While your qunioa cooks, chop celery, onions, and carrots into a skillet.  Saute with oil or water until tender.

3.  Puree vegetable mix in a blender.  Add to quinoa.  Mix in refried beans, cilantro, garlic, and other desired seasonings.  I used cilantro, seasoning salt, and hot sauce to flavor my quinoa patties.

4.  Mix all ingredients until they become a "meat like" texture.  If your mix is too sticky, you may add flour to reduce stickiness.

5.  Once combined, make burger patties or "meat" balls.  Fry with oil in a skillet or bake on a cookie sheet in the oven.  I prefer frying on the skillet, as it gives the patties a meatier texture.

6.  Serve with or without a bun and your favorite toppings.  Eat like a hamburger.

7.  Leave a comment below telling me your tips, favorite toppings, or other thoughts.


Grab button for Wellness Wednesday

Thursday, December 6, 2012

Cheap & Super Easy Toddler Sleeping Bag

My "big" boys are getting new mama-made sleeping bags for Christmas as part of a camping play set that I'm putting together.  I got some incredibly cute fabrics the day after Thanksgiving at an amazing price and am looking forward to putting those together very soon.


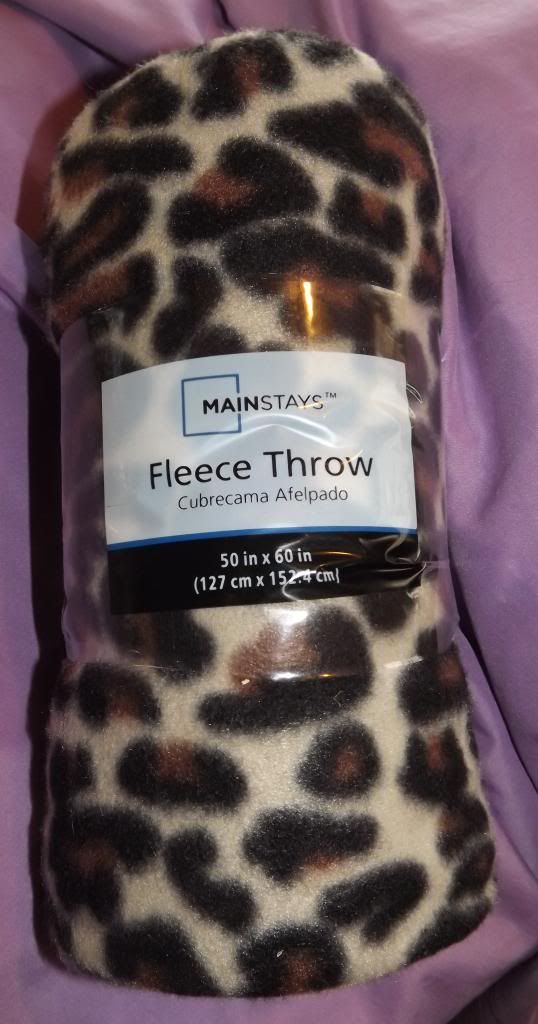
We were at Walmart the other day and I got to thinking that the little guy is just starting to get to the point that he wants to do what his brothers are doing.  He will probably want his own sleeping bag for playing camping in the very near future as well.  We happened to walk past a big bin of cheapo, thin fleece blankets - they were something like $3 or $4 a piece.  I picked one out that I didn't think looked TOO girly, and had a fun print on it.


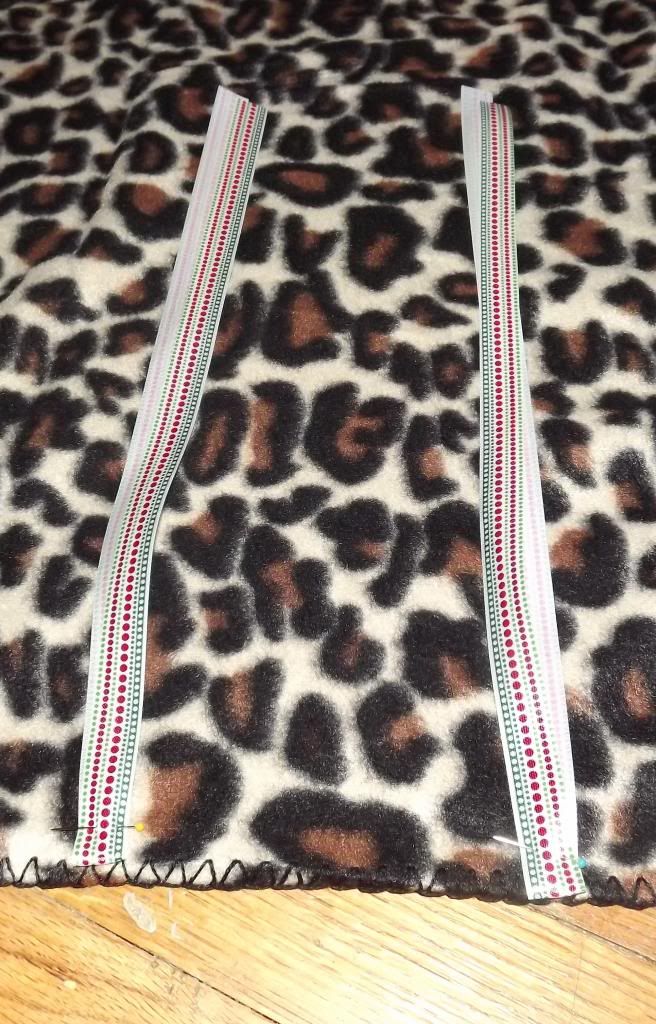
Seriously, this is how simple his sleeping bag is... I opened it up, found the halfway line, pinned some ribbons on the OUTSIDE of the fabric.  I made the pattern on the ribbon face outside, next time I'll reverse it so that when I tie the bag together the pattern shows easily.  I measured my ribbon by wrapping it around the rolled blanket and giving it enough slack to make bows.

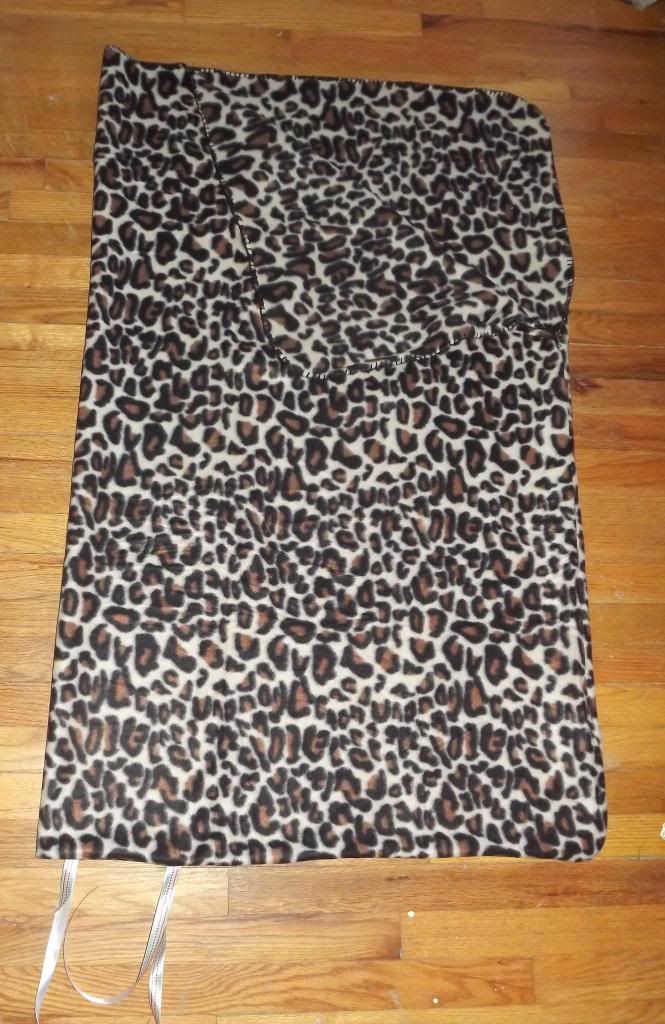
Next I pinned the blanket sides together, leaving the ribbons on the outside of the fabric - which became the INSIDE of my pins, they were hidden while I sewed.  I used a quick straight stitch about 2/3 of the way around the folded blanket, leaving room to fold the top open for easy entrance/exit.


Here is the finished bag, ribbon closures in place.  I folded the corner down, which you cannot see at all in this picture.  One thing I like about using the blanket is that it already has finished edges, so it looks like I did a lot of work.


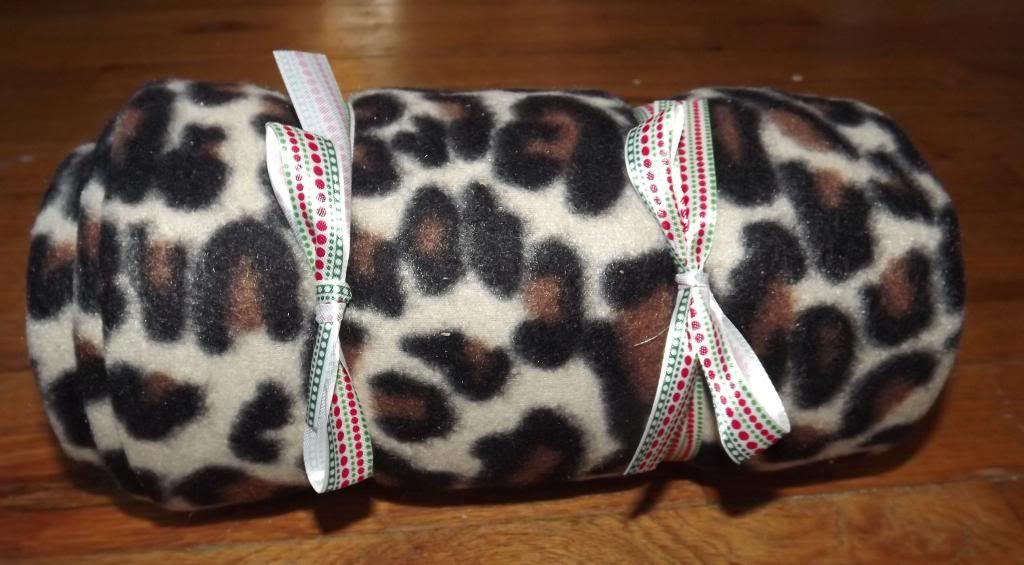
Rolled, tied, ready to wrap for a Christmas morning surprise.

If you were putting together a camping play set for preschool/kindergarten aged boys, what would you make sure to include?